SecureVideo Clinical Chat is an encrypted, in-browser chat that SecureVideo account holders can use to communicate with their session participants, and/or with other account holders in the organization. Chat messages and files transferred through chat are encrypted in transit and at rest.
If you would like to disable (or re-enable) SecureVideo Clinical Chat on your account, please contact the Support team at [email protected] from the email address associated with your organization's Account Administrator.
Clinical Chat messages (or files sent through chat) are retained for 24 hours before they are automatically and permanently deleted. For file transfers, each user can upload up to 200MB at a time, and up to 1GB per day.
This support article illustrates how to start a chat group/thread.
You may also be interested in:
Start a chat as a host or admin: from chat tab
1. While logged into your account, click on the "Chat" tab along the top of the page.

2. Click on the "New Chat" button on the left hand side, in the upper left.

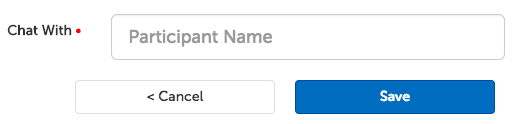
3. You will be prompted to enter information about your participant.
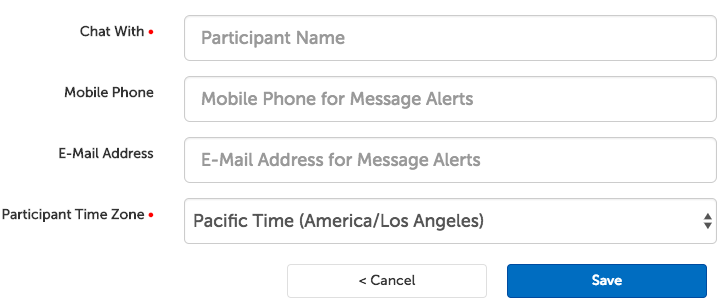
- Chat With*: Required; enter the name of the participant (minimum of 2 characters). If you have saved this person in your Contacts list or they are a user in the organization that you have permission to access, their name should appear in the autofill once you begin typing. Otherwise, you can create a new contact.
- Mobile Phone: Enter a mobile phone number (United States or Canada) if your participant would prefer chat notifications by SMS.
- If a contact has both a mobile phone number and e-mail address, the notification will only be sent to the mobile number. (The person can change this once they access the chat.)
- E-mail Address: Enter an e-mail address if your participant would prefer notifications by email.
- Participant Time Zone*: Required; choose the time zone your participant is in--this determines the time and date that will be used to display timestamps in their chat window (this defaults to the time zone on your account).
Click "Save" to add this participant.
Note: The chat message retention policy on your account will appear as a message underneath these fields.

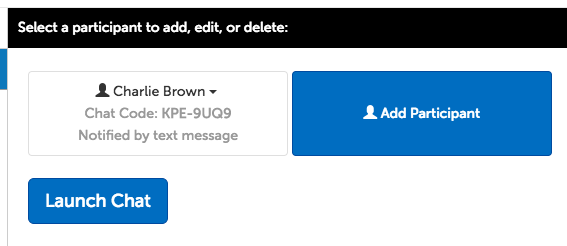
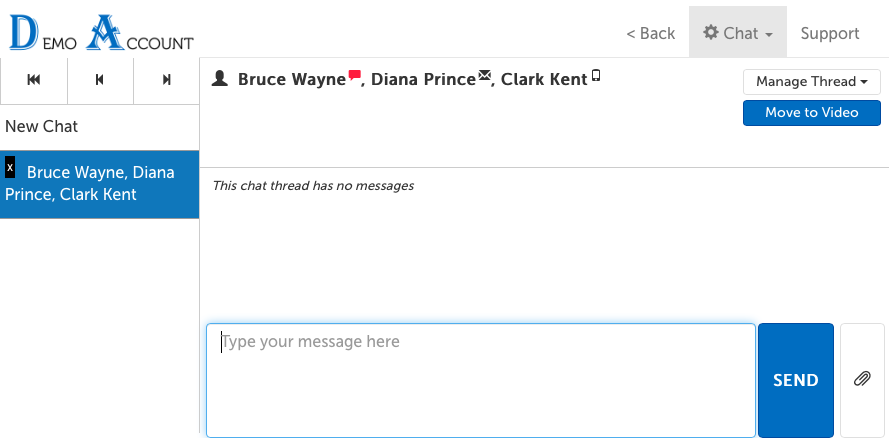
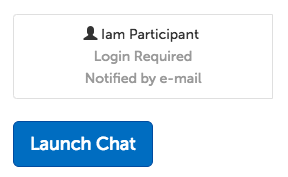
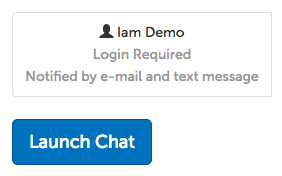
4. Click "Add Participant" to add another participant to the same chat conversation. Or, click "Launch Chat" to be taken to the chat window.
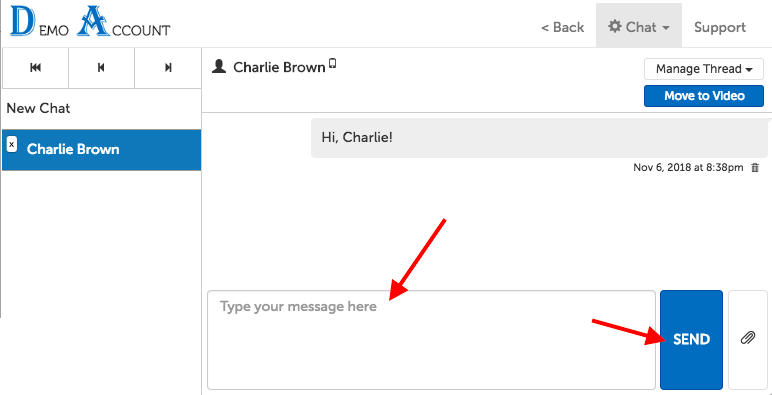
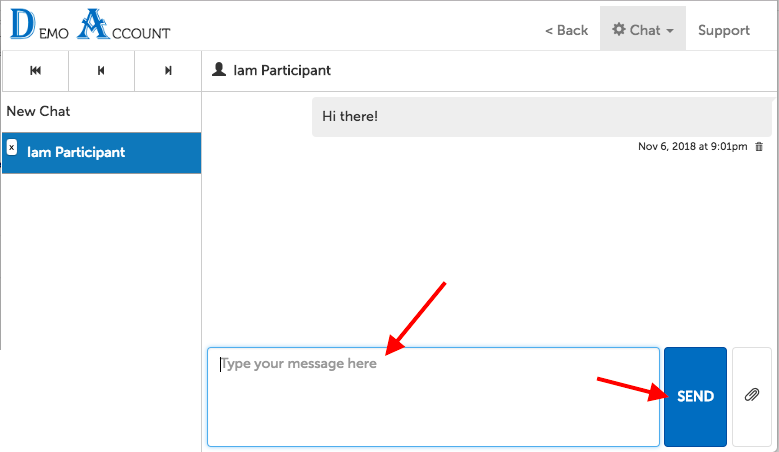
5. You can enter the first chat message into the textbox at the bottom of the page and click "Send".
Start a chat as a host or admin: from video meeting
1. If you would like to create a chat group with the same participants as a current or upcoming video meeting, click on the "Start Chat" button on that session panel.
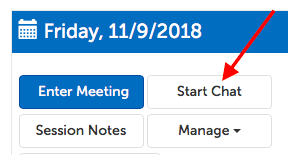
2. This will immediately create a group for you to enter a new message into. Type into the textbox at the bottom of the page and click "Send".
Start a chat as a scheduler, clinical supervisor, or billing manager
1. While logged into your account, click on the "Chat" tab along the top of the page.
2. Click on the "New Chat" button on the left hand side, in the upper left.
3. You will be prompted to enter your participant's name.
- Since your role does not have a host license, you can only chat with a participant that has an account within your organization. As you start typing, names that match in the organization will appear in the autofill.
Click "Save" to add this participant.
Note: The chat message retention policy on your account will appear as a message underneath these fields.
4. Click "Launch Chat" to be taken to the chat window.
- Only users with a host license can create group chats.
5. You can enter the first chat message into the textbox at the bottom of the page and click "Send".
Start a chat as a participant
If you have a chat invite
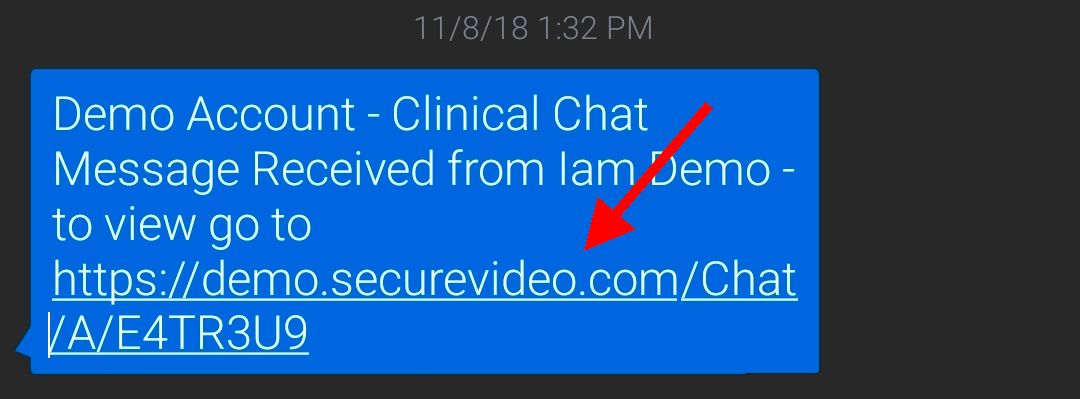
1. If you received an invite by SMS invite, tap on the link in the text message.
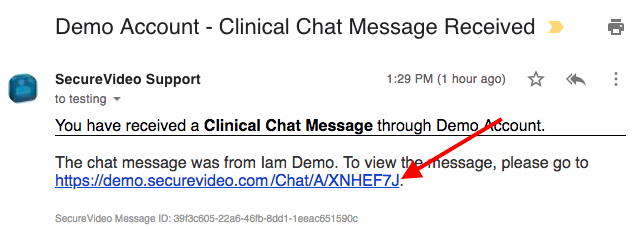
Or, if you received an invite by email, click on the link in the message.
If you have a chat access code
1. Your host should have provided you, the session invitee, with a 9-digit Access Code for the session you want to join. Go to hub.securevideo.com/chat to enter it, and then click "Go" to be taken to the chat screen.

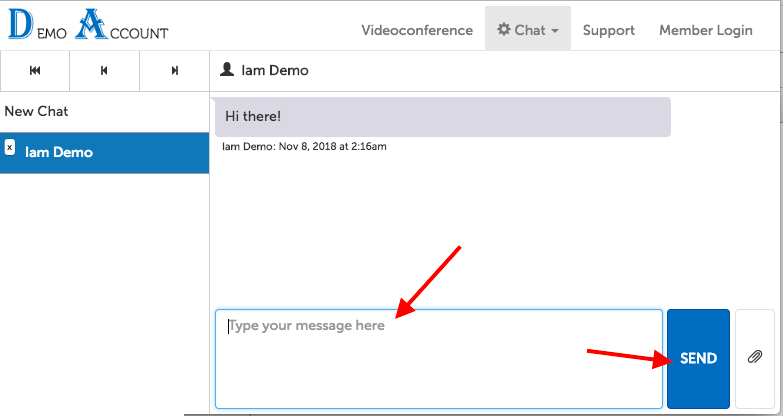
2. On the next page, type your reply into the textbox at the bottom of the page and click "Send".
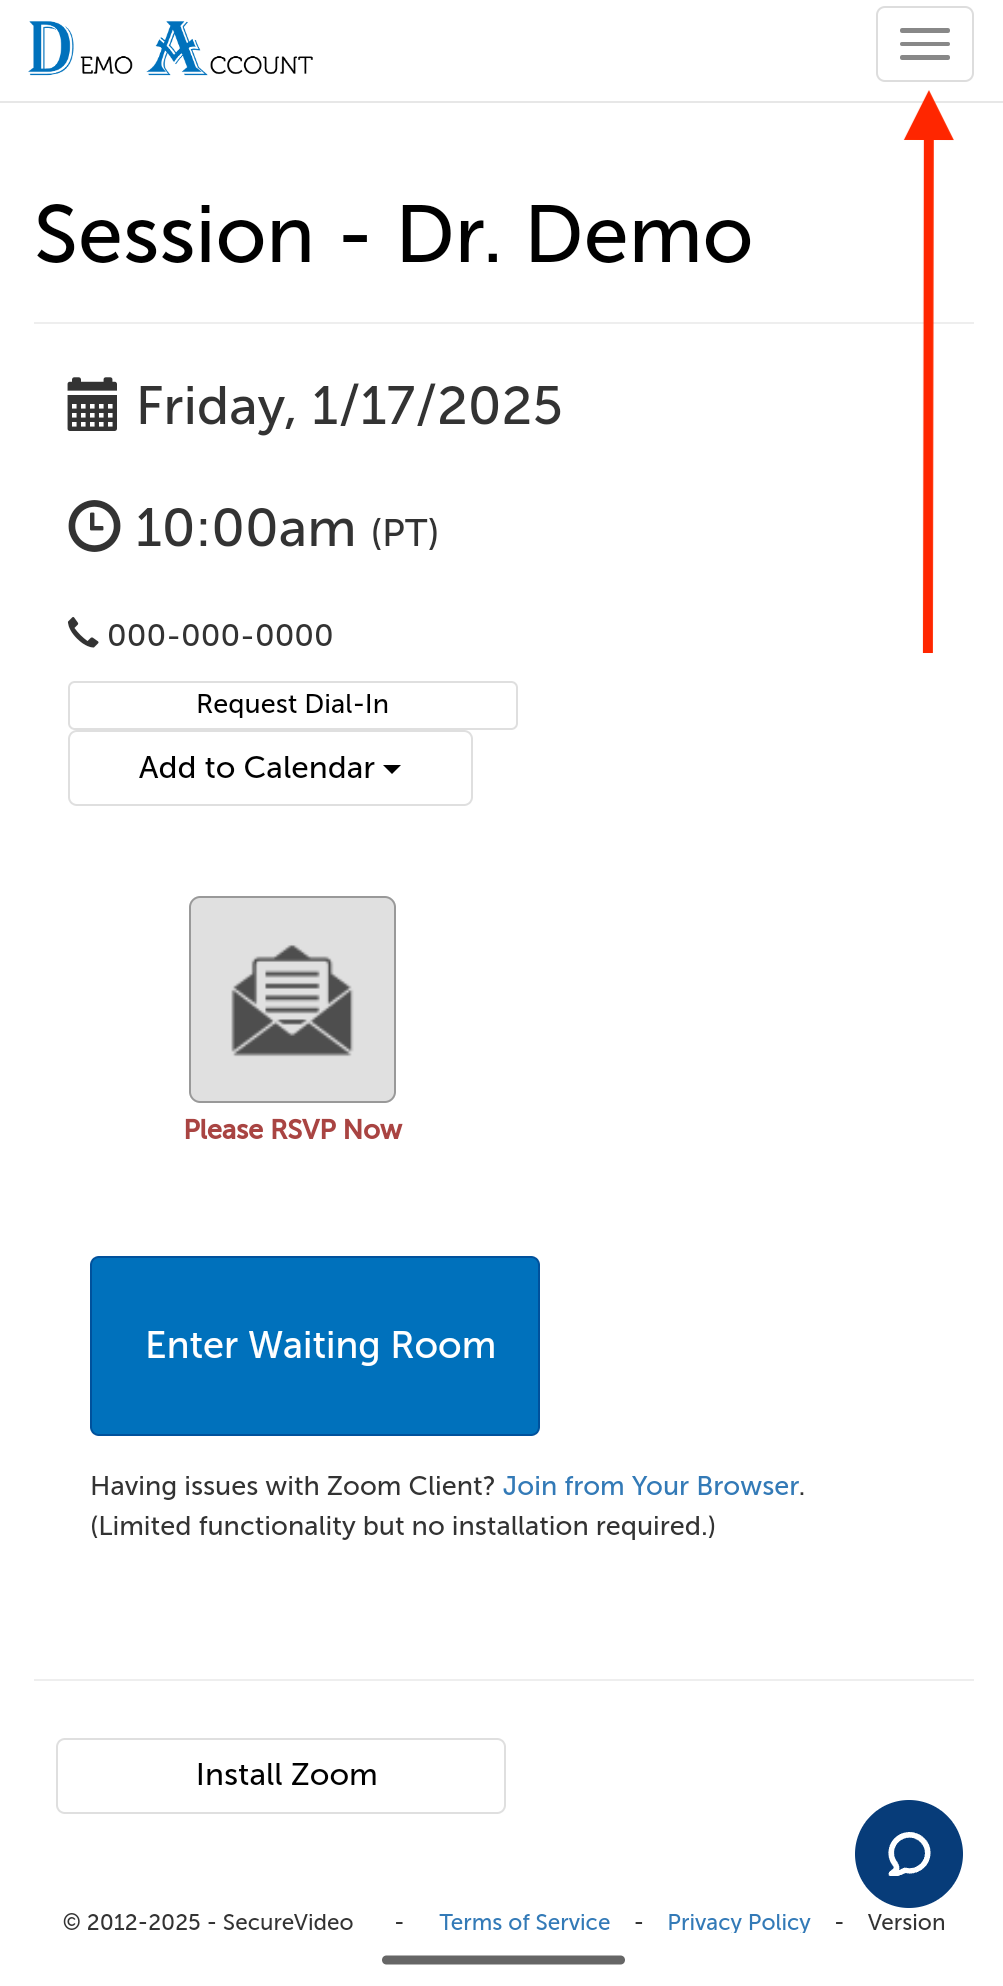
If you are on a videoconference waiting room page
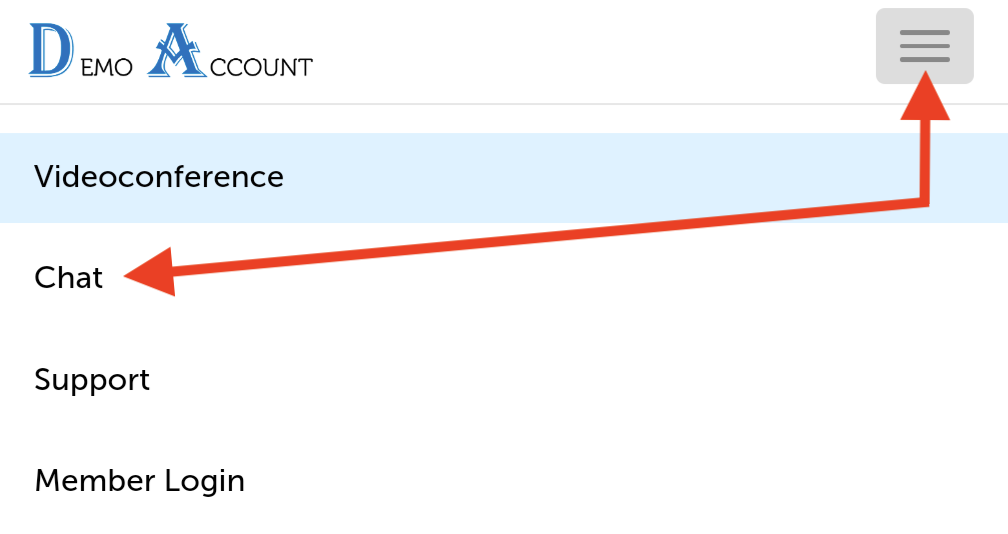
1a. Click on the "Chat" tab at the top of the page.
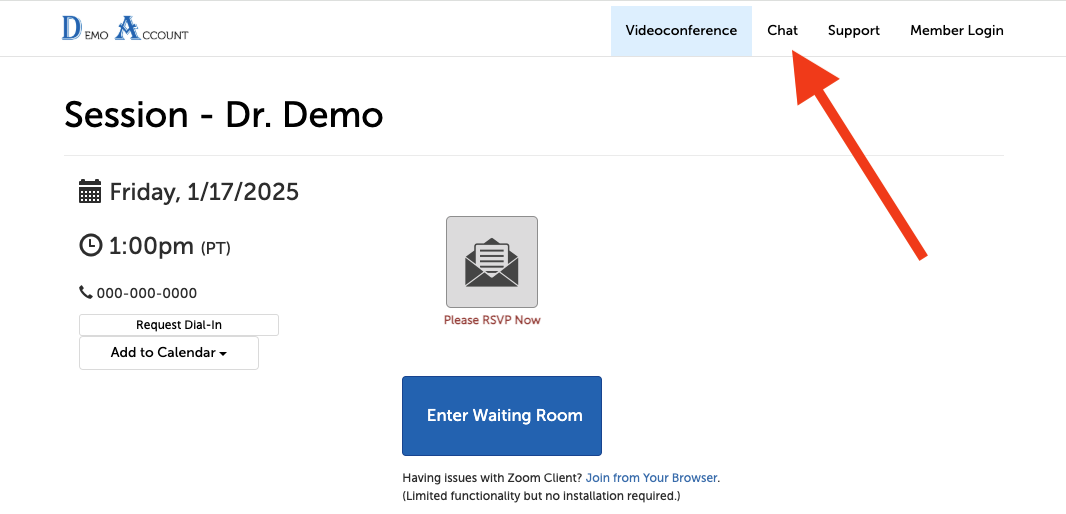
1b. If you're on a smaller mobile device such as a phone, you'll need to expand the menu first to see the list of tabs.
2. If you only have access to chat with your provider, a chat will open with them, and you can type your message and click "Send":
If no chat opens directly, click on the "New Chat" button on the left hand side.
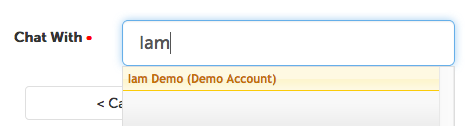
3. Start typing the name of a user that you have permission to contact. (This can be the name of the provider that displayed on the video waiting room page, or the name of another user you are aware of.) Click on the name in the autofill to select them.
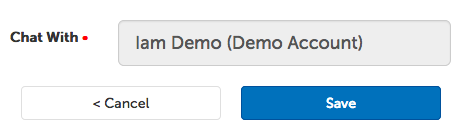
4. Click the "Save" button to add this user.
5. Click "Launch Chat" to be taken to the chat window.
- Only users with a host license can create group chats.
6. On the next page, type your reply into the textbox at the bottom of the page and click "Send".
If you have a participant user account in the organization
1. While logged into your account, click on the "Chat" tab at the top of the page.

2. Start typing the name of a user that you have permission to contact. Click on the name in the autofill to select them.
3. Click the "Save" button to add this user.
4. Click "Launch Chat" to be taken to the chat window.
- Only users with a host license can create group chats.
5. On the next page, type your reply into the textbox at the bottom of the page and click "Send".
How to send an attachment
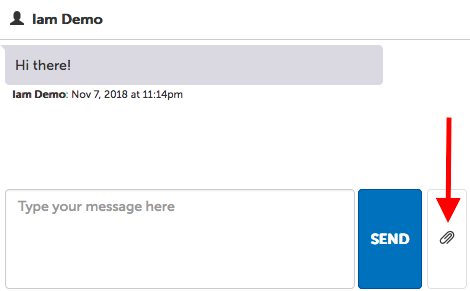
1. While on the chat thread you would like to upload a file to, click on the paperclip icon in the lower right hand corner.
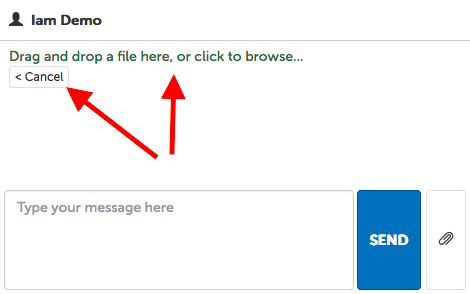
2. Drag and drop the file you wish to send on the blank space that appears, or click on the sentence in the box to select a file to upload.
- Use the "Cancel" button if you don't want to attach a file after all.
How to delete a message
1. Click on the trash can icon underneath the message you would like to delete (to the right of the date/timestamp).
- If you have a Host role, you can delete any message in a thread. Otherwise, you can only delete your own messages.

This article was last reviewed by our Support team on January 10, 2025